Aluminum composite panels installation has become one of the most popular ways to update exterior facades across Toronto.
Whether you own a home in the Beaches or an architect is designing a modern commercial space downtown, ACM panels deliver a sleek, durable, and low maintenance finish. These panels stand up beautifully to our harsh Canadian winters and humid summers.
If you have just contacted Wiedehopf, you are likely wondering exactly what happens next. This guide walks you through the entire process of renovating your exterior facade with aluminum composite materials. While we handle all the heavy engineering and technical lifting, this guide covers both the high-level project journey and the strict installation standards required for a flawless finish.
Why Renovate Your Exterior Facade with ACM in Toronto?
Toronto homes and buildings face unique challenges: freezing temperatures, heavy rain, wind driven moisture, and constant freeze thaw cycles. Traditional siding often struggles under these conditions, leading to frequent repairs and higher long term costs.
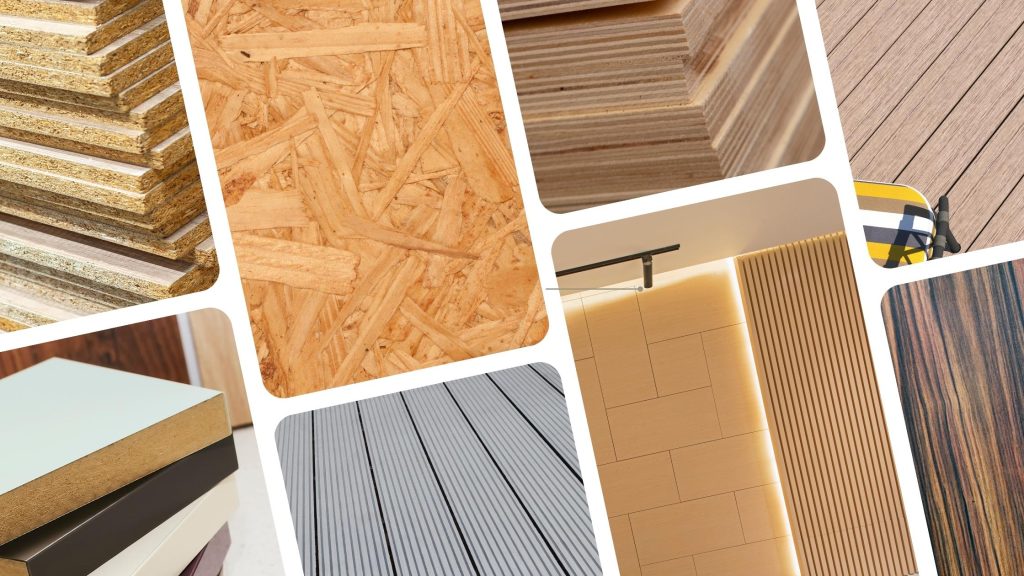
Aluminum composite panels installation offers a modern solution with these key benefits:
- Lightweight yet structurally rigid construction that reduces structural load
- Excellent resistance to fading, corrosion, and heavy impact
- Improved thermal performance and moisture control when used in a rainscreen system
- Unmatched design flexibility with a wide range of custom colors and metallic finishes
- Significantly lower ongoing maintenance compared with brick, stucco, or vinyl
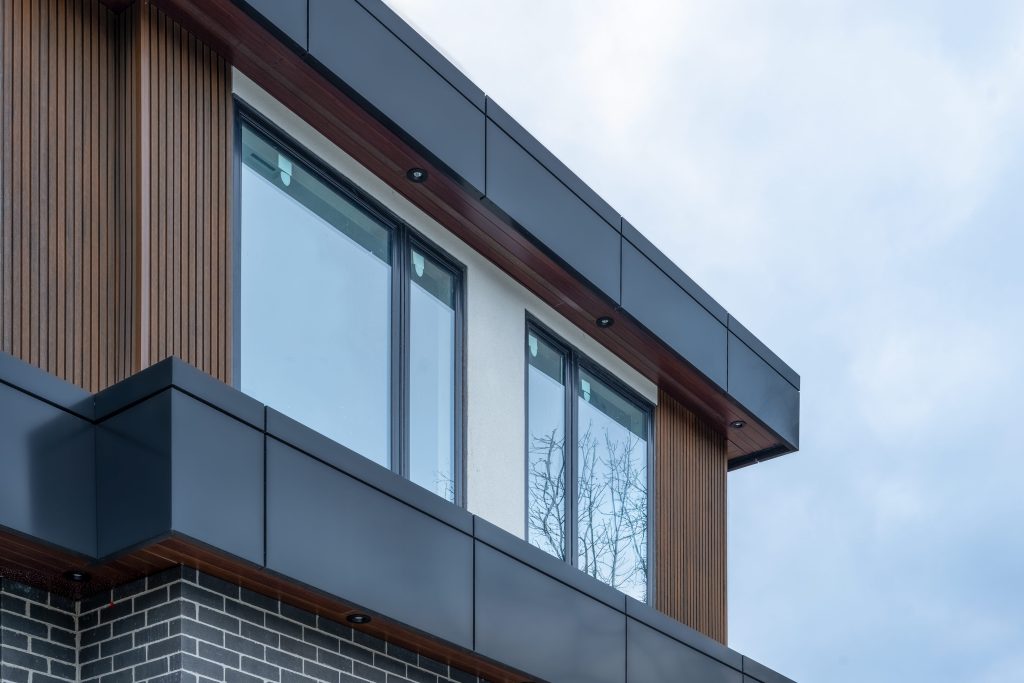
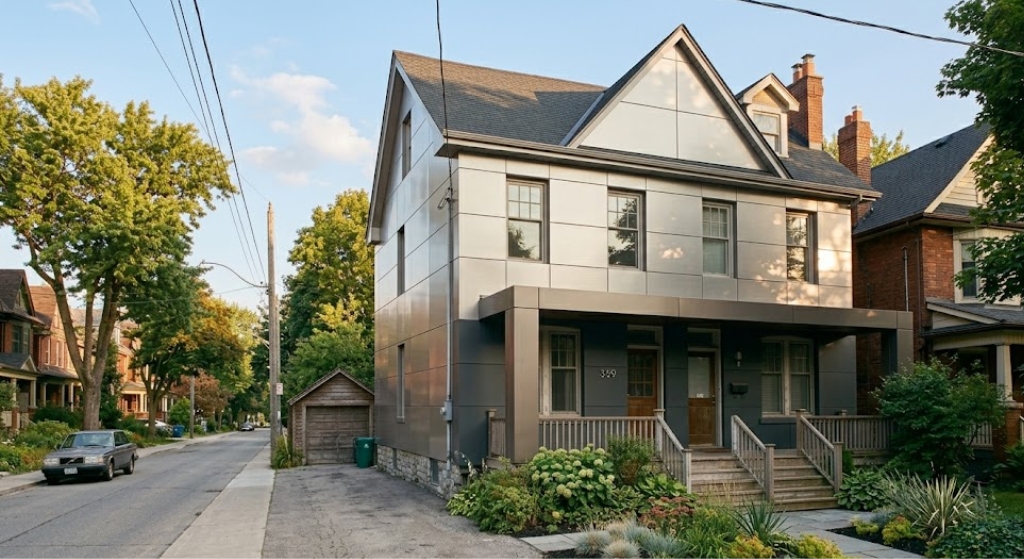
Homeowners enjoy a fresh, contemporary look that boosts curb appeal and property value. Architects appreciate the clean lines and large format surfaces that modern Toronto buildings demand.
Step 1: Contacting Wiedehopf: Your Journey Begins
The moment you reach out to Wiedehopf, your facade renovation project moves from idea to reality. Whether you are a homeowner ready for a full exterior update or an architect looking for a reliable fabrication and installation partner, our team starts with a friendly, no pressure conversation.
We listen to your goals, ask questions about your building, and schedule an initial site visit or virtual consultation. During this first step, we assess the existing facade, discuss timelines, and outline the phases of your aluminum composite panels installation.
You will receive a clear project roadmap & quote tailored to your needs. Many clients tell us this early conversation removes uncertainty and builds excitement for what is possible.
Step 2: The Design Process: Collaboration That Fits Your Vision
Design is where your vision takes shape. We handle this step differently depending on your role in the project:
If you are an architect: Simply share your existing design files with us. Our team reviews them, discusses any Toronto specific building code requirements, and collaborates directly on technical details such as panel layout, joint lines, and integration with other facade elements.
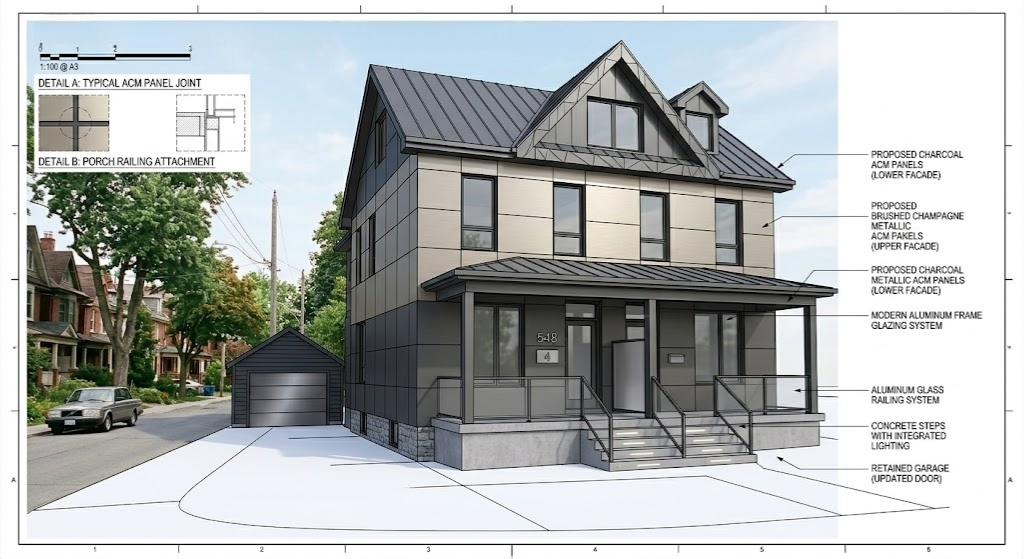
If you are a homeowner: Contact Wiedehopf, and we will create a complete custom design for you. From initial sketches to 3D renderings, we refine every element until it matches your style and budget.
This collaborative approach ensures the final facade enhances your property while meeting all local regulations. Most design phases take two to four weeks, depending on project size.
Step 3: Fabrication: Creating Ready to Install ACM Panels
Once the design is approved, fabrication begins in our controlled workshop environment. This is the stage that makes on site ACM installation fast, clean, and precise.
Our team translates your approved drawings into exact panel sizes, shapes, and finishes using specialized equipment. Every piece of aluminum composite material is precisely cut and folded so that when it arrives at your property, the installers receive custom cassettes that fit together perfectly.
Quality checks happen at every step. We verify color consistency across batches, surface flatness, and structural integrity before anything leaves the shop. Factory fabrication minimizes material waste and significantly reduces the time installation crews spend working on your property.
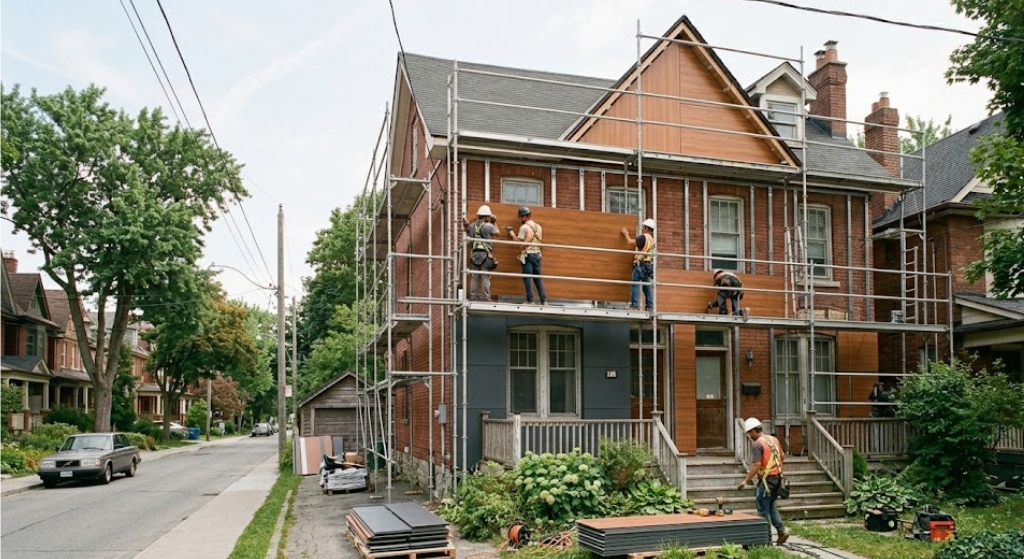
Step 4: The Installation Process and Engineering Framework
Installation day finally arrives. This is the exciting phase where your new facade starts to take real shape on site. Because the panels arrive pre-fabricated, the work moves efficiently and with minimal disruption.
Understanding the Core Systems
Before putting panels on the wall, our engineering team selects the ideal fastening framework for your specific building envelope:
- Rainscreen System (Dry Joint): Utilizes a pressure equalized design where extruded aluminum tracks clip together. It features a ventilated air cavity that allows water to drain naturally behind the panels, relying heavily on a high-performance Water Resistive Barrier (WRB). This is ideal for managing Toronto’s wind-driven rain.
- Wet Seal System: Panels are routed into cassettes, fastened down with structural clips, and the gaps between panels are completely sealed using backer rods and structural silicone for a completely airtight, weather-tight barrier.
Here is the exact step by step technical framework our professional crews follow on site:
- Site Preparation and Safety Setup: Crews establish safe working conditions by installing scaffolding or lifts and placing protective coverings over landscaping. They inspect the existing substrate one final time to confirm it is structurally sound and flat to within 1/8 inch over 10 feet.
- Surface Substrate and WRB Preparation: The team removes old cladding materials where required. They then apply a commercial-grade Water Resistive Barrier (WRB) seamlessly across the wall. This layer acts as the primary defense against moisture while allowing the inner structure to breathe. Laser control lines are snapped to establish the master grid.
Learn more about the role of rainscreens in long-term moisture management from Penn State’s Building Systems program: Role of Rainscreens in Moisture Management.
- Building the Supporting Substructure: Engineered aluminum or galvanized steel Z furring channels (or hat channels) are securely anchored to the wall studs. This sub-framing system is precisely aligned to match the panel joint lines and creates the critical, insulated air cavity needed for rainscreen ventilation.
- Mounting the Cassette Panels: Starting from the bottom corner and moving upward, crews systematically lift and position the fabricated ACM panels. Panel clips are secured to the Z furring using stainless steel self-drilling fasteners. Specialized sliding or slotted attachment points are used to allow the building to flex naturally.
- Establishing Joint Profiles and Alignment: Crews maintain a completely uniform joint width (typically 1/2 inch to 3/4 inch) across the entire grid using temporary alignment spacers. Horizontal and vertical lines are checked constantly against the laser grid before locking adjacent panel sections into place.
- Final Sealing and Finishing Details: For wet seal applications, joint returns are cleaned with isopropyl alcohol, a closed-cell backer rod is inserted, and high performance, non bleeding structural silicone is perfectly tooled. For dry rainscreen systems, final drainage paths and matching architectural trim profiles are double-checked for clearance.
 Critical Field Rules for Installation Success
To ensure a facade lasts for decades without warping or failing, our crews follow strict field guidelines:
The Rule of Thermal Expansion: Aluminum moves significantly with climate shifts. It expands and contracts at a rate of roughly 1/32 of an inch per 10 feet for every 100-degree F change in temperature. If an installer pins both sides of a panel down with rigid, tightly driven fasteners, the ACM will buckle or oil can during hot Toronto summers. We always combine fixed dead load points with floating, slotted guide points to allow smooth thermal movement.
For a deeper look at how pressure-equalized rainscreen designs manage movement and moisture, see this guide to designing exterior wall systems from City Tech CUNY: Designing Exterior Wall Systems – Pressure-Equalized Rainscreen Principles.
- Directional Arrow Alignment: Metallic and exotic finishes are highly sensitive to light refraction. Every panel features directional arrows printed on its protective film. If a single panel is accidentally rotated 180 degrees relative to its neighbor, it will look like an entirely different color once the sun hits it. We enforce strict arrow matching across every wall elevation.
- Preventing Galvanic Corrosion: When raw carbon steel fasteners touch aluminum components in a wet environment, an electrical reaction triggers rapid corrosion. We isolate different metals completely by utilizing high-grade stainless steel or specifically coated fasteners to protect the structural integrity of your building envelope.
- Prompt Film Removal: The protective masking film must be peeled off within 45 days of installation. If left too long under intense solar UV rays, the adhesive will bake permanently into the premium finish coat.
Common Questions About ACM Installation
How long does the entire process take? From your first call to the finished facade, most projects take 8 to 16 weeks. The design, code review, and factory fabrication processes make up the largest portion of this timeline. The actual on site installation phase is surprisingly fast, typically taking just 1 to 3 weeks depending on the building size.
What about cost? Pricing varies based on total square footage, selected panel finishes, sub framing requirements, and architectural complexity. Wiedehopf provides completely transparent, itemized quotes early in the design stage so you can plan your budget with total confidence.
How much maintenance will I need? Almost none. Unlike wood that rots or stucco that cracks, premium ACM panels require zero painting or sealing. A simple annual pressure wash or rinse with mild detergent keeps the finish looking brand new for decades.
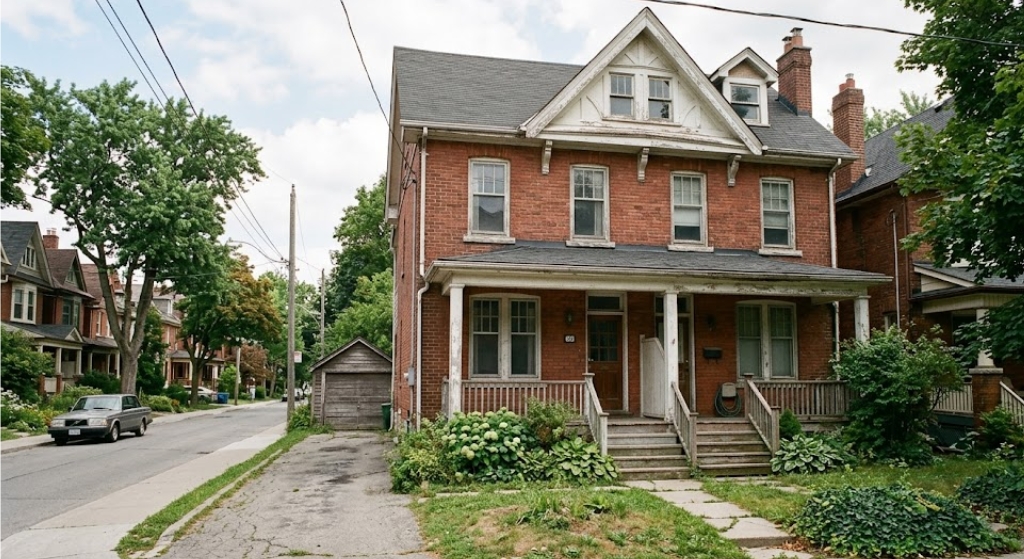
Can ACM panels be installed directly over my existing siding? In many renovation scenarios, yes. Our engineering team evaluates the load bearing capacity of your existing structural walls during the site visit to determine whether we can anchor the sub framing over the old cladding or if a clean tear off is required.
Ready to Start Your Exterior Facade Renovation?
Your journey to a stunning, modern exterior is simpler than you think. Whether you are an architect with construction drawings ready for a fabrication partner or a homeowner looking for a turnkey, full service design and installation team, Wiedehopf is here to guide you through every phase.
Contact us today to schedule your initial design consultation, and let’s turn your property into a beautiful, climate resilient Toronto landmark.