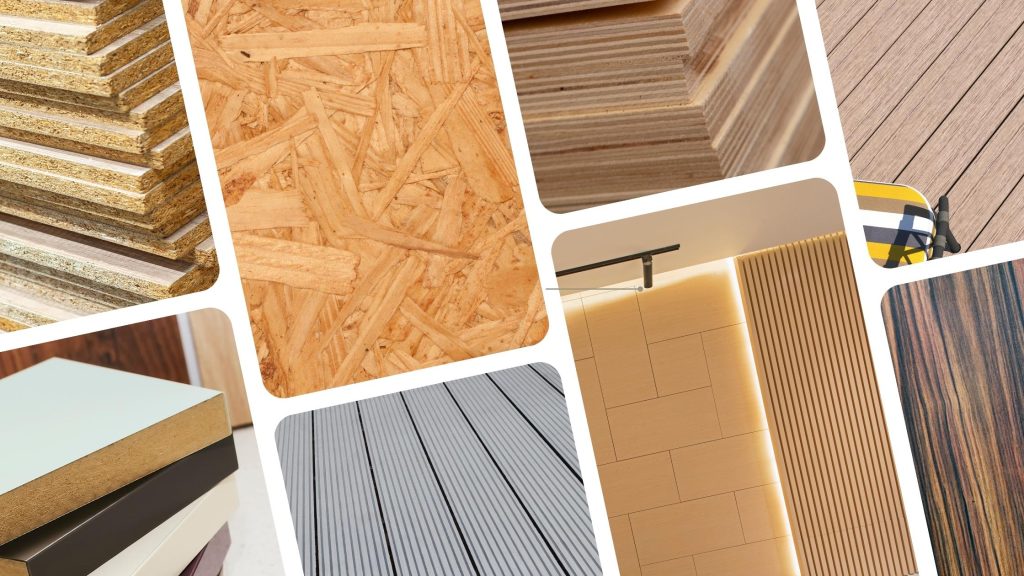
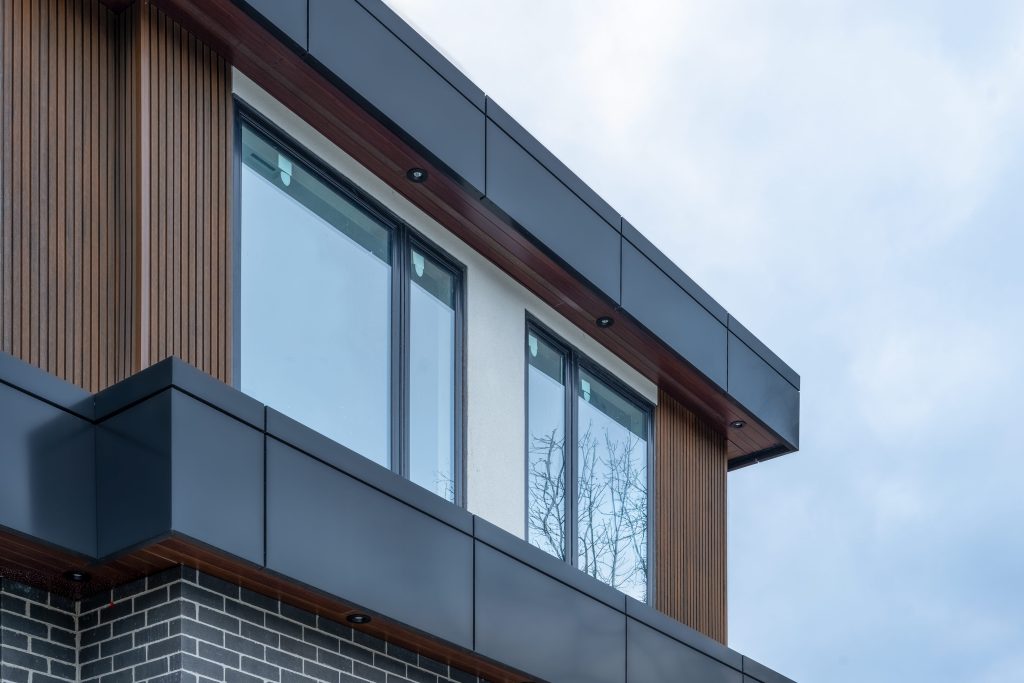
Behind every beautiful exterior design is a well-executed cladding installation. If you have chosen to use Aluminum Composite Material (ACM) in your next cladding project, you are well on your way to a quality facade. Now, it is time for a cladding installation team to get the most out of this modern material by waterproofing the building envelope, executing the initial designs, and creating a rainscreen that will function far into the future.
How do installers accomplish all this? Here is a look at the installation process for ACP.
Pre-installation
The sun rises, and the skies are clear: it is a perfect day for a cladding installation. The panels and the necessary components have arrived on the job site. So, too, has an expert team of installers. Before they can begin installation, the base wall needs to be prepared.
Air Vapor Barrier
The team will be installing a rainscreen, which means that the base wall needs to be waterproofed before the cladding can go up. Watertight protection does not come innate for common base wall materials: concrete, plywood, CMU, etc. These substrates need an Air Vapor Barrier (AVB) or building wrap to provide a layer of waterproof protection. AVB is commonly referred to as Blueskin, after the most popular brand in the space.

AVB typically comes in adhesive sheets. Installers measure out the dimensions of the base wall and cut AVB to size. If you have ever put a bumper sticker on a car, this is a similar process (albeit on a much larger scale). Installers begin with the bottom of the base wall, adhering the sheets of AVB to the substrate and overlapping individual rolls by around 2 inches.
Initial wrinkles are smoothed by hand, and then a tight fit is ensured with a J Roller on the final pass. The highest points on the wall are reached with the aid of a boom lift, sometimes called a cherry picker (which is used for work at heights during the rest of the installation).
For some products or base wall materials, a primer is necessary before the AVB can be adhered to.
Flashing
To complete the waterproofing process, the install team runs flashing along the base of the substrate. This is to account for the water that will get into the rainscreen once the installation is complete. The flashing forms a gutter that will facilitate the flow of water away from the building.
Grid
As the proverb goes, “measure twice, cut once.” Chalk is a marquee item in any cladding installer’s toolbox. Following the initial schematic of the designer’s blueprint, the installers draw a grid onto the AVB adhered to the base wall. Cladders rely on levels to trace each line: the installers use a self-leveling laser to ensure the final result will be plum.

You should be able to take a step back and see exactly how the design will be carried out. A complete grid will include:
- The dimensions of each panel.
- Lines for underlying extrusions.
- The locations of backplates for fastening.
Installation
The pre-installation phase lays the seeds for a bountiful facade. Now comes the time for installers to execute: fastening extrusions and subsequently locking in the ACP.
Extrusions
The installers fasten extrusions to the substrate. These will serve as the point of contact between the cladding panels and the base wall and create an air cavity between each for a rainscreen.
A brief note on fastening these extrusions: installers use screws that are specifically geared to the substrate that they are working with, be it concrete, metal, wood, etc. These screws are topped by EPDM washers that allow them to be drilled into AVB without creating leaks in the membrane.
The team begins with the overall frame of a particular section. Extrusions are first fastened to the vertical perimeter mitered at the top to connect to the horizontal extrusions. The vertical and horizontal perimeter extrusions frame this section of the base wall.
Next come backplates, of which there are typically three distinctions: Segmented, half, and full backplates. Installers fasten segmented backplates horizontally along the bottom of the substrate. For completing the perimeter frame mentioned above, snap-locked top caps are attached to the backplates using a sled tool and a mallet.
Then, installers work based on the vertical lines of the grid. Full backplates are used for uninterrupted sections of the wall. Half backplates run alongside windows and other intricate areas and are made into full backplates using joining pieces.
Three-inch gaps are left at the top and bottom of all backplates to leave room for top caps, which are soon to come. The installers use segmented backplates to follow the horizontal lines of the grid.
To provide adequate structural support, the installers attach clips to the backplates of every extrusion. Now that extrusions have covered all the lines of chalk, it is time to take out the ACP!
Cladding Panels
The installation team has come equipped with suction cups, which have grips that ease the handling of ACP. The protective film is adhered to each panel for installation but can be easily removed upon completion by peeling back the edges.
Each panel comes equipped with E-brackets (added during the ACP fabrication process, which you can read more about in this article). These lock into the vertical and horizontal extrusions, which have been fastened to the base wall. The install team picks a lower perimeter corner and works out from there.
When two parallel panels are put in place, top caps are popped in to bridge the gap between them. The top caps–which form a grid–crisscross each other. Horizontal caps go in first, with the verticals going over the top. This forms a dry seal and pressurizes the air cavity behind the ACP for an ideal rainscreen.
An alternative approach is the wet-seal method. This involves caulking the space between panels. If you have ever worked with caulk, you know this is a demanding business, which is why we always recommend a dry seal.
Post-Install
Last on the installation team’s to-do list is the peel. If you have ever removed the plastic film on a glossy new TV or other piece of tech, you know the feeling. There is no satisfaction quite like revealing the beautiful shade and texture of the ACP, which has been hiding beneath the plastic film since manufacturing. Installers slowly peel it away and wipe down any lingering adhesive with a wet cloth.

So ends the installation and the entire cladding process, which has included design, supply, and fabrication. The installation team drives off as the setting sun glows off your new building exterior.
At Wiedehopf, we assist in all facets of your ACP exterior project. Our elite installation team is the ultimate happy ending to any cladding process.
Call our office at +1 (905) 761 9791, or fill out a free quotation form on our website for a no-obligation exploration of how our cladding services can work towards the installation of your unique ACP exterior design!