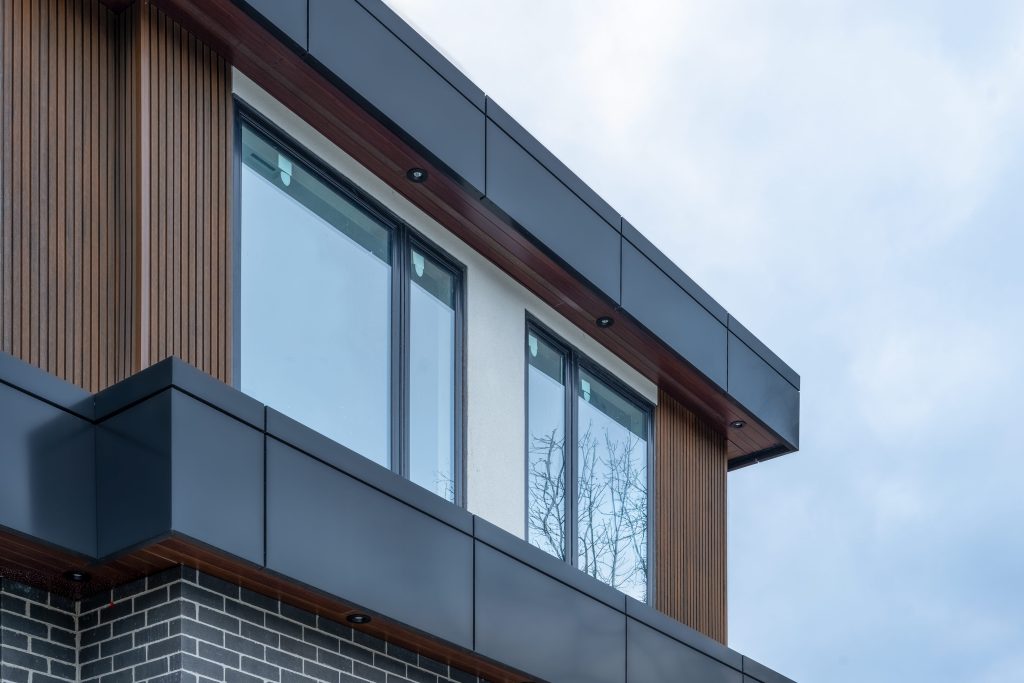
Aluminum siding is made from aluminum, the same lightweight metal that is used in the manufacture of soda containers. Aluminum siding installation is not very tough work, although it takes a considerable amount of time and energy.
In this article, We will explain the step-by-step process of aluminum siding installation.
What is Aluminum Siding?
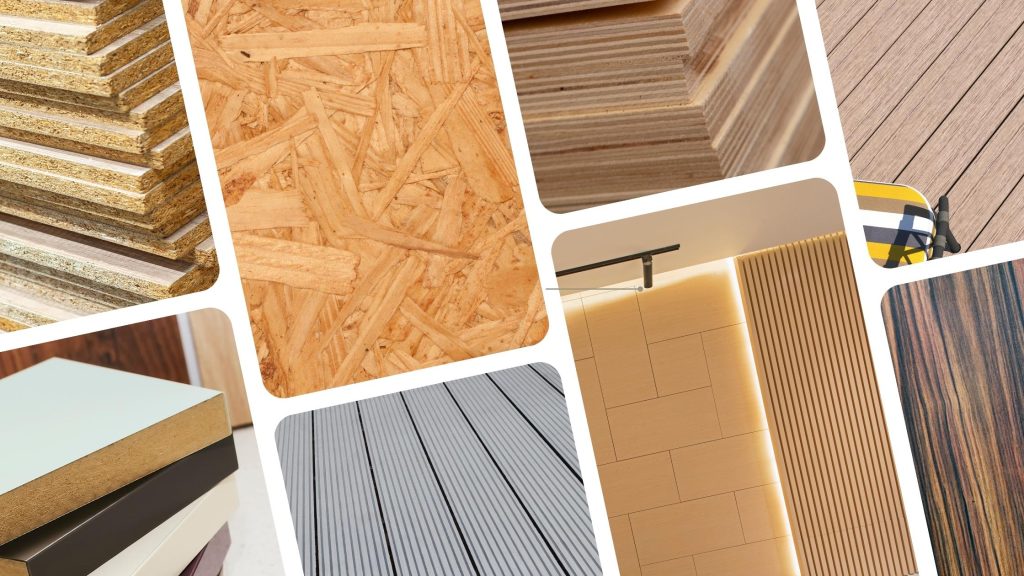
Aluminum is a soft metal that has been a popular choice for home siding for decades. Aluminum siding comes in horizontal and vertical panels, allowing the homeowner to customize the exterior appearance of the home.
There are many different types of aluminum siding available; you can find unfinished siding that can be painted as well as the original color of the factory production in different options.
The most common size is a length of twelve feet, six inches.
Aluminum Siding Pre-installation
The very first thing you should do to have aluminum siding is preparation.
First of all, you are to evaluate the compatibility of the surface of your home so that it’s clean, smooth and has no flaws on it.
If the current siding is deteriorated or weak, stripping may be required. The structural foundation should be checked for signs of mold or rot, and repair should be carried out if necessary.

Aluminum Siding Installation Step-by-Step Guide
With the proper installation of aluminum wall cladding, you can enhance the appearance of your house. Next, we guide you through six detailed steps to ensure a successful aluminum siding installation.
Step 1: Preparation and Planning
Complete preparation has to be followed by the assembling of the needed tools and materials. The following supplies are needed to get started:
- Aluminum siding panels
- corner posts
- J-channel trim
- starter strips,
- screws
- safety equipment
- tin cutters or a circular saw
- measuring tape
- level
- chalk line
- hammer or nail gun
You should also ensure all parts that should be available are within the room in order to prevent interruption of the process. The outcome is an action set similar to category selection, and the creation of a strategy for the layout is also essential.
Using a measuring tape as a medium, take measurements of the walls that will be covered with siding and make a wall plan.
Identify the locations where the corner posts will be fastened, the location of J channels and the position of the starter strip.
All this planning will go a long way in seeing that the installment process will be successful.
Step 2: Installing the Starter Strip
To start with, one needs to determine the width of the wall and, after that, cut the strip as a starter one to size. Place another starter strip horizontally at the bottom of the wall and make sure it lies along the line of the chalk mark.
The first row or the starter strip needs to be as level as possible for the ease of aligning the rest of the siding job. The first strip should fit very tightly to the wall, so it is necessary to fix it with screws or nails.
A slight gradient or a negative slope is considered necessary while designing to avoid water accumulation near the structure. It also removes the dampness and, as a result, helps prevent other such complications.
Step 3: Installing Corner Posts
Corner posts are significant in providing your siding with that neat finish and also for support purposes. Check the height of each wall and see which corner posts are the correct sizes.
Place the first upright posts at all the outside and inside corners of the structure, checking that they are vertical using a level. Bolt or nail the corner posts to the wall to guarantee they have been fixed properly.
Step 4: Installing J-Channels
J-channels are designed to produce edges around windows, doors, and the edges of the siding. In addition, it is suggested that J-channel pieces be measured and ordered according to the dimensions of the windows and doors before the aluminum siding installation.
The J channels can be used in a vertical or horizontal position, but the manner in which they are positioned should not have clearance between the channels when fixed.
Secondly, it is necessary to provide enough space when installing aluminum siding to be able to afford shrinking or expanding.
Step 5: Install the Aluminum Siding Panels
After setting up the corner posts, J-channels and starter strip, you can start installing aluminum composite panels.
Slide the first panel into the J channel and make sure it is firmly seated on the starter strip. Use screws or nails to fasten the panel to the wall studs. Make sure the screws are in the hem of the nailing to allow room for expansion.
Please make sure the first panel is straight before securing it entirely.
As you install the next panel, make sure to overlap it with the preceding panel in accordance with the manufacturer’s instructions.
Be careful when sticking to a routine, and periodically assess alignment. Trim the panels so they neatly fit into the J channels whenever you come to a window or door.
Step 6: Finishing Touches and Final Inspection
After installing all of the siding panels, make sure all of the cutting components are correctly aligned and fastened in place. Put J channels around windows and doors or on top to fill in any gaps.
After completing the aluminum siding installation:
- Conduct a thorough final inspection.
- Check for any loose panels, misaligned seams, or gaps that may need additional trim.
To avoid any potential damage, make sure all screws or nails are flush with the surface of the siding. To keep your home looking neat and tidy, it is also significant to clean the installation area by removing any excess material or dirt.
Aluminum Siding Installation Cost in Canada
- Of course, aluminum siding installation cost in Canada depends on factors such as: The quality of the siding
- Size of your home
- Labor costs
- Installation complexity
In Canada, aluminum siding cost about $30 per square foot.
Among the existing producers in the market, Wiedehopf produces high-quality aluminum sidings, which are in great demand due to such parameters as their durability, aesthetic look, and the necessity to carry out minimum efforts to maintain them.